|
1970 - 1978 GM Style Reproduction Power Seat Cable Connector
Installation Instructions
|
|
|
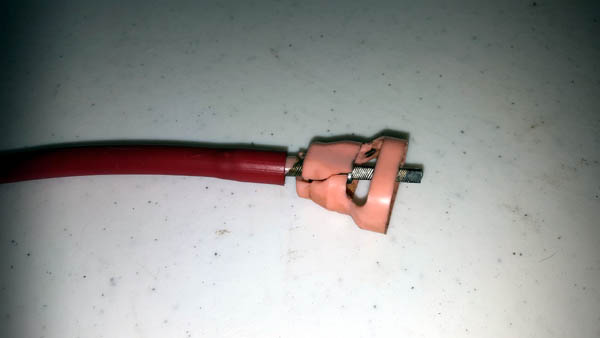
These clips are designed to install over the broken ends of your existing ones. There are a couple different clip styles... These are made to install over the specific cables where the clip is pressed inside the cable jacket.
There is no need to remove the crimped collar from the cable, as the replacement is designed to slide over the outside of the remaining assembly. |
|
|
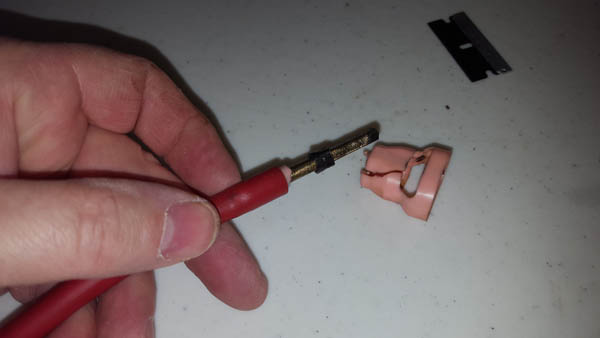
Start by removing the broken end. Do not remove any of the clip end that is still present inside the cable jacket.
|
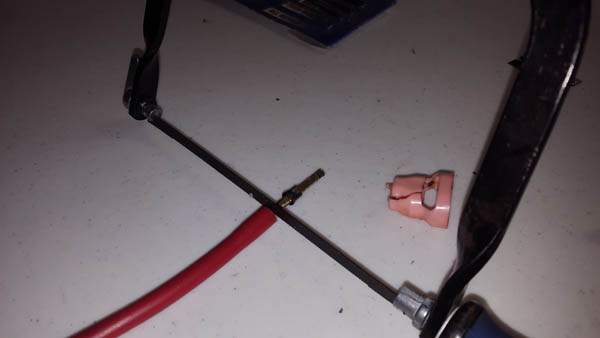 |
I used a fine saw blade to score the broken piece still sticking out from the jacket. Make sure not to cut into the metal cable. |
 |
After scoring, use a screw driver or pliers to remove any material sticking out from the end. |
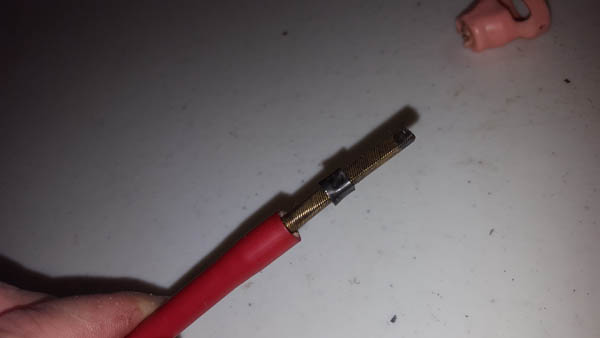 |
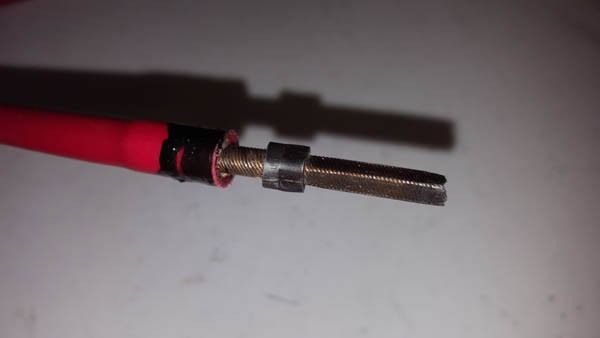
Here's what it should look like. Flush to the end of the cable jacket. |
 |
Use a razor to bevel the jacket. This will allow the new clip to be more easily slid over the top. Dry fit the new clip before using adhesive. The hole in the clip is 3/8", and should not need to be modified if appling to this style cable.
Please use caution not to exert too much pressure on the cable clip you are installing. If it is too difficult to slip over the cable, lightly sand the inside of the clip channel and try again. |
 |
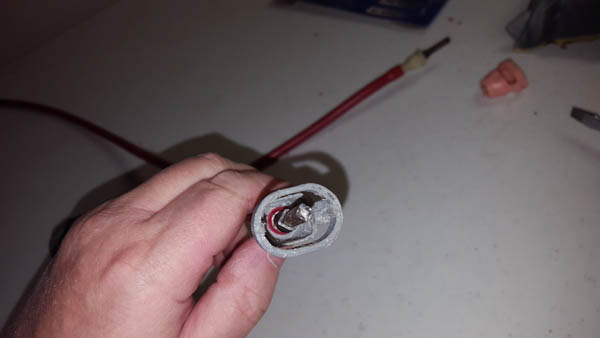
I applied some weather strip adhesive over the jacket to allow for a more permanent attachment. |
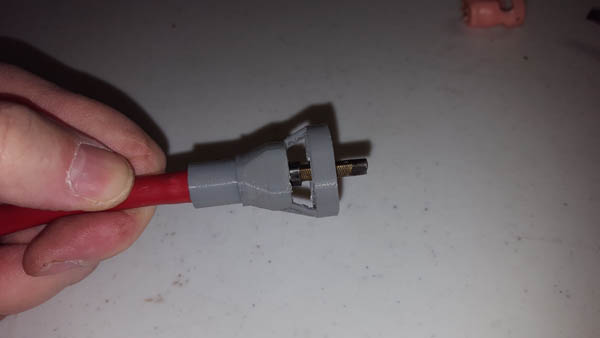 |
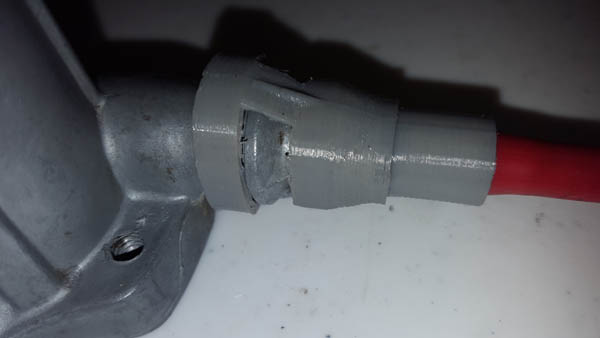
Slip the replacement clip so the end of the cable jacket is even with with where the clip starts to bevel outward. |
 |
Should look like this. Allow the replacement clip to set-up before installing. |
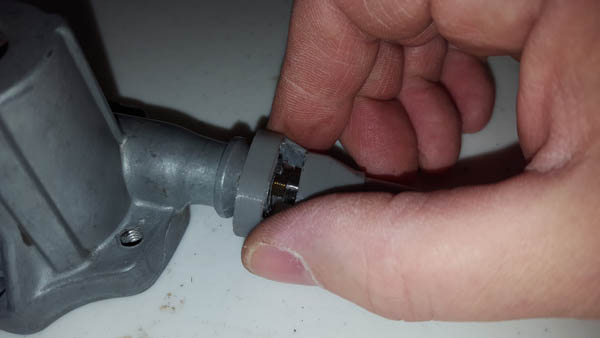 |
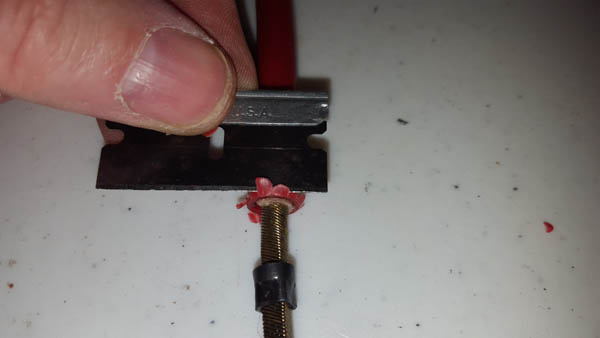
Clip is installed on actuator by sqeezing the oval shaped ring at the bottom. The ABS plastic is very strong, and can be subject to pressure. |
 |
Once on, rotate 90 degrees for a snug fit. |
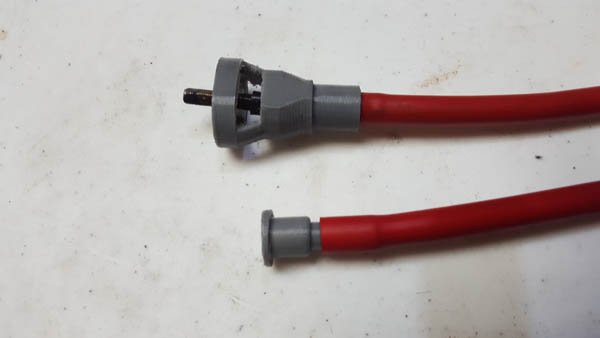 |
The other ends are also available if needed, and a seperate listing will be created shortly. |
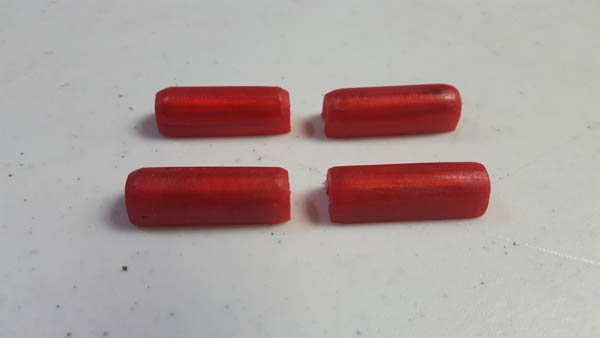 |
I also have replacement gliders listed. they are sold by sets of 4, each set to complete one track. |